
Mapmaker
A Python application which combines the anatomical diagrams with the connectivity knowledge to produce the rendered map tiles which form the actual flatmap visualization
Mapmaker
Map maker is the tool which combines the anatomical diagrams with the connectivity knowledge to produce the rendered map tiles which form the actual flatmap visualization.
Mapmaker is a Python application that generates Mapbox compatible tilesets from a range of sources (currently including SVG drawings, MBF Biosciences segmented images, and PowerPoint slides). In conjunction with SCKAN, Mapmaker is used to render the flatmaps portraying the anatomy and nerve knowledge of species, as seen on the SPARC Portal Maps page.
The mapmaker resources include flatmap-maker, flatmap-server, and flatmap-viewer. Refer to the SPARC Map Reuse documentation for more information. Each repository contains documentation regarding installation.
- flatmap-maker (mapmaker)
- flatmap-server
- flatmap-viewer
For more information on these flatmap resources see the SPARC Map Reuse documentation.
Source Code
Map maker’s source code is hosted on GitHub, which is where issues and feature requests can be raised, and documentation can be found here. Releases are versioned in GitHub.
- flatmap-maker (mapmaker) https://github.com/AnatomicMaps/flatmap-maker
- flatmap-server https://github.com/AnatomicMaps/flatmap-server
- flatmap-viewer https://github.com/AnatomicMaps/flatmap-viewer
Connectivity knowledge from SCKAN is used to identify which segments of a pre-drawn (but hidden) nerve network that the path of each neuron population group traverses. These paths are then ordered within each nerve segment to minimize the number of crossings between paths, and drawn using an offset from the segment’s centreline.
Installation Overview
Simply install the mapmaker wheel and the flatmap server by following the respective instructions. For more information on how to install Python wheels, click here. Run mapmaker with the appropriate command, and start the flatmap server to view the map.
It is recommended to install and run mapmaker under its own Python virtual environment. Mapmaker can be installed as a python application, or a development version can be set up. The Installing mapmaker in a development environment section explores how to set up the development version of mapmaker. Further instructions for each OS and/or environment can be found in the Installation for various environments section.
Refer to the documentation for more information:
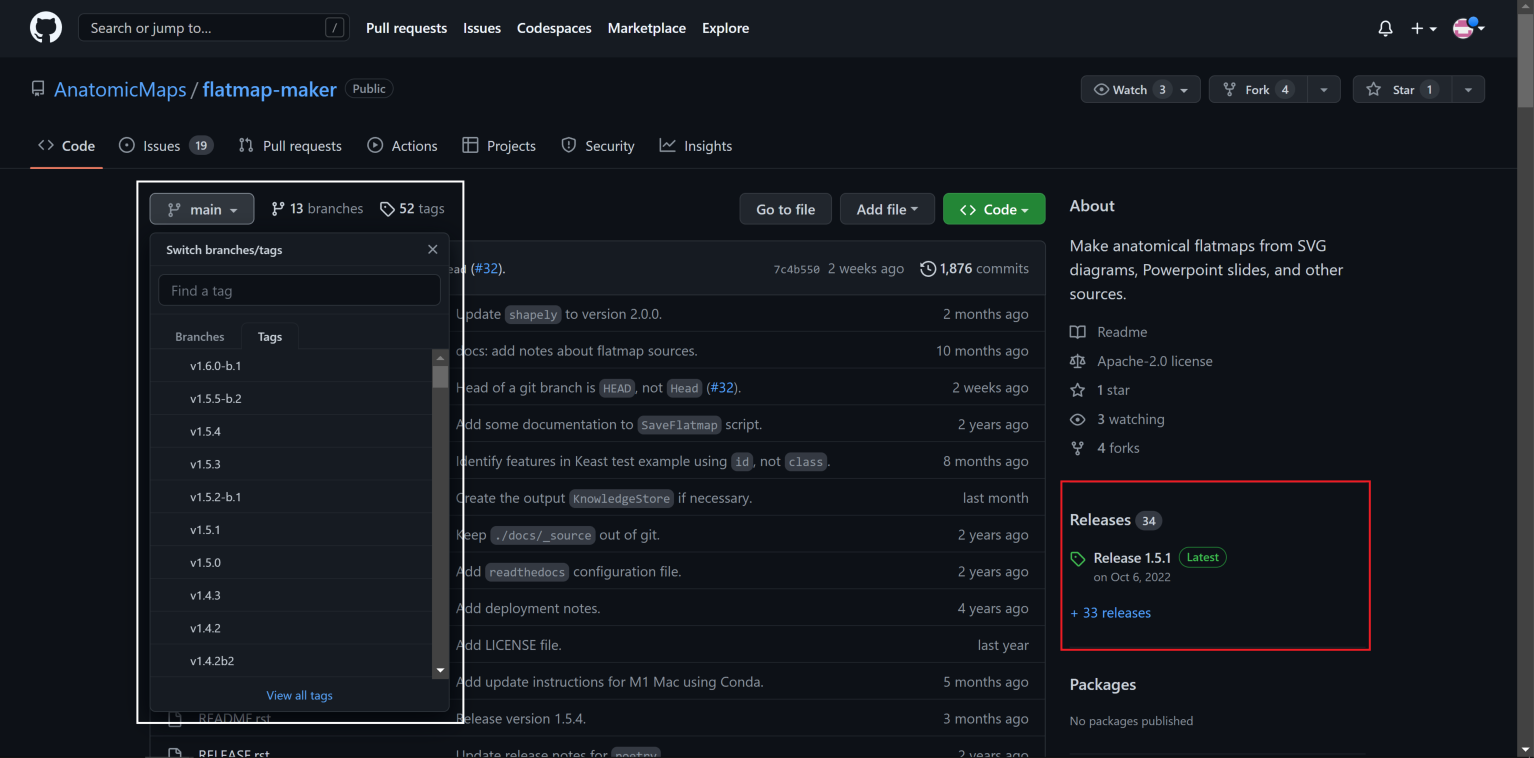
Note:Be sure to use the latest release of mapmaker when installing the .whl file. Figure 4 highlights where in the flatmap maker repository to find the mapmaker releases.
Development Environment
Prerequisites
The following are required in order to successfully install and generate maps. Links to the packages have been provided, which capture installation instructions.
- Mapmaker:
- Python 3.10
- Tippecanoe
- COIN-OR CBC Solver
- Poetry
- Miniforge (for ARM based MacOS machines)
- Flatmap viewer
- Flatmap server
- Python 3.8 (or higher)
- Poetry
- Libgl1-mesa-glx
Installation
Note:Examples, including specific commands, for Windows and MacOS can be found in the Installation for various environments section.
The first step is to install the prerequisite packages.
-
- make
- g++
- sqlite libsqlite3-dev
- libz-dev
- coinor-cbc
- Set up the Tippecanoe package, following the official instructions.
Note:Several warnings may appear but can be neglected. However, error messages in red may indicate failure.
- In the root directory, clone the flatmap-maker, -server, and -viewer repositories.
Note:This will clone the head of the main branch of each repository. It is recommended to use the latest released version of mapmaker. Switch to the latest release while in the flatmap-maker directory (shown in Figure 4).
- As aforementioned, the flatmap resources are reliant on Poetry. Following the link, install Poetry via the instructions provided.
Note:The ‘poetry’ command may not be recognised. This can be resolved by adding Poetry to the PATH, as per the official installation instructions.
- Once this has been done, enter the flatmap-maker directory and set up a Poetry environment. Test the installation by opening a poetry environment.
- Exit the poetry environment. In the flatmap-server directory, set up another Poetry environment. The mapserver can be started with
$ poetry run mapserver
Note:A warning may appear relating to an undefined SCRICRUNCH_API_KEY. This can be ignored as the SciCrunch key will be added via mapmaker.
- Enter the flatmap-viewer directory and install npm. The output of npm install may mention several vulnerabilities, which can be resolved by following the suggested fix.
Note:As mentioned in the Prerequisites section, node.js must be installed for the flatmap viewer. Click the link provided in the Prerequisites section and follow the instructions.
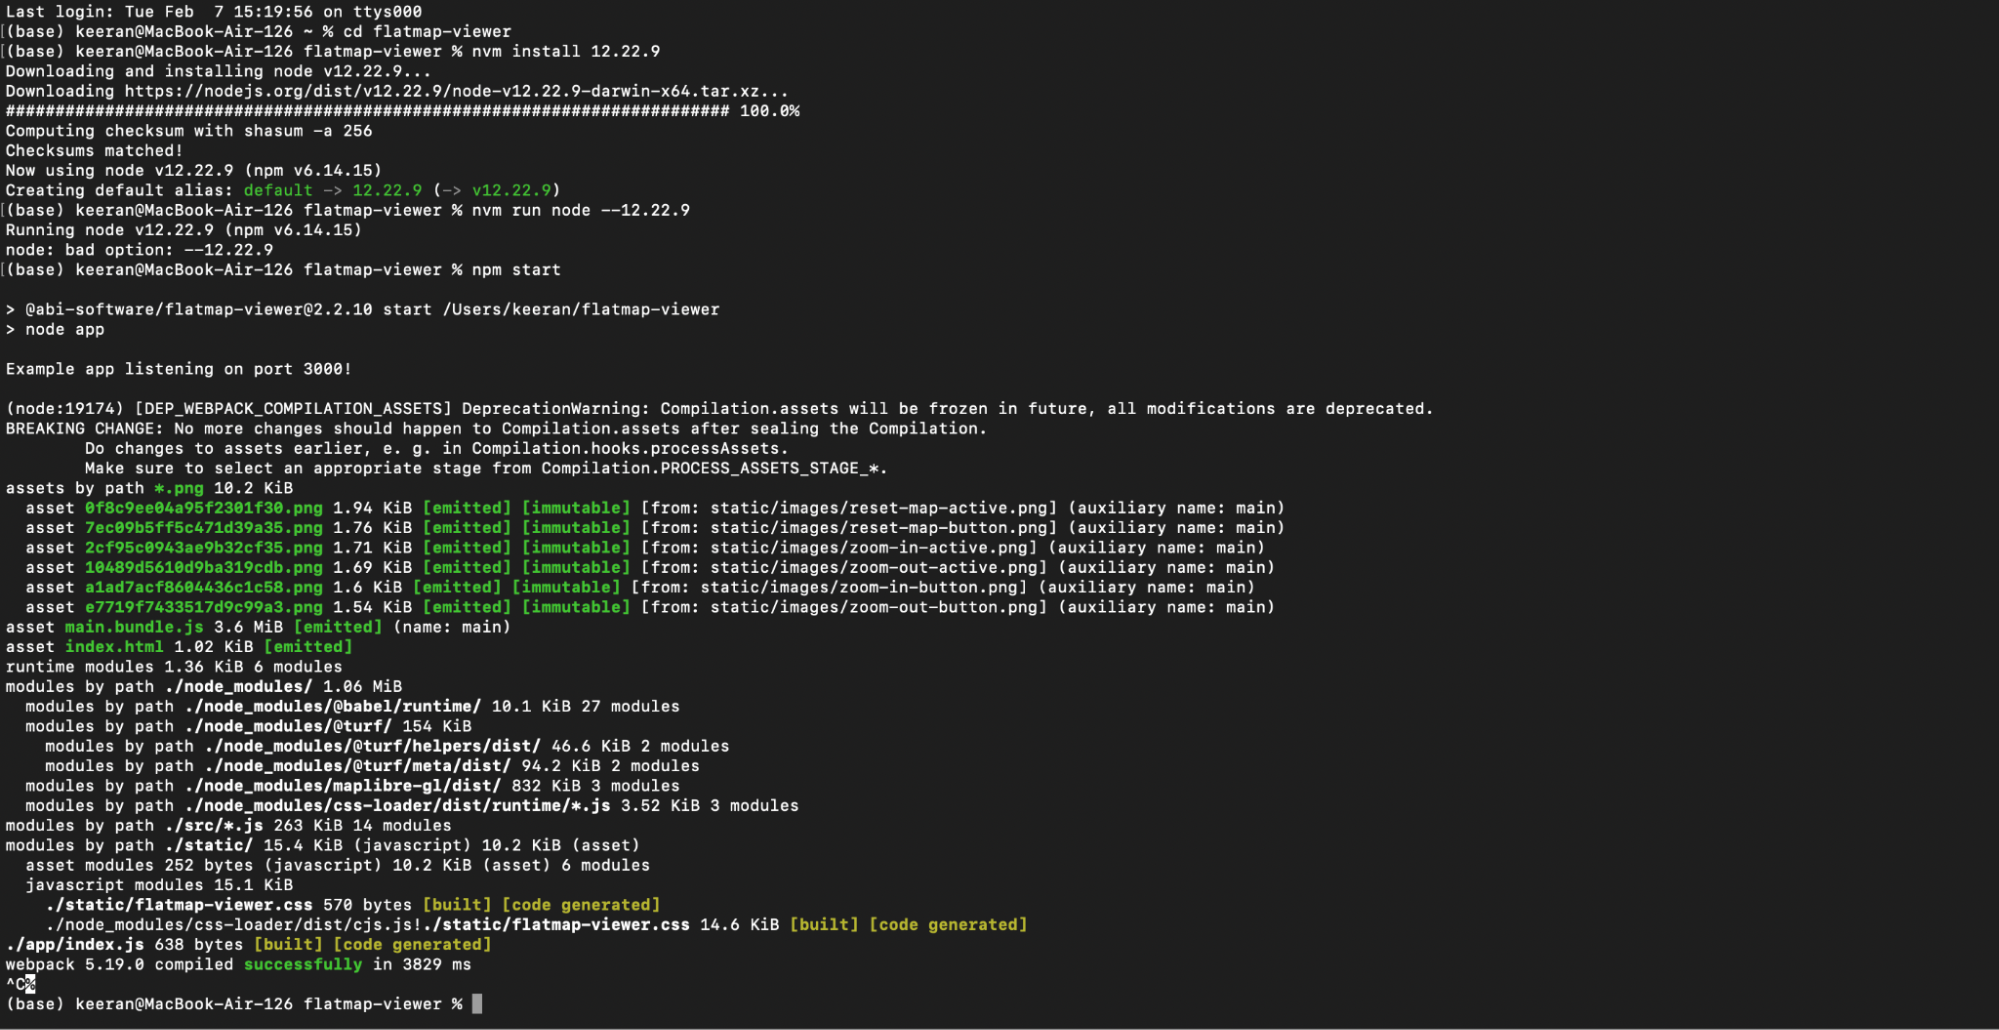
The flatmap viewer can be started with
$ npm start
Note:The flatmap viewer may fail to start due to the updated version of Nodejs. This can be resolved by using Node Version Manager to install v12.22.9._
- The flatmap resources have been installed and are ready for use. Flatmaps will require a source, including a set of JSON files and an SVG file (see Flatmap sources for more information). For an up-to-date version of the rat flatmap (to be used alongside the developer environment of mapmaker), the repository below should be cloned. The set of sources for the flatmaps of other species found on the SPARC Portal can be found within the AnatomicMaps organization.
https://github.com/AnatomicMaps/rat-flatmap
Note:This link is for the latest flatmap resources, not an official release.
Flatmaps should now be ready for generation.
Using mapmaker
Once the flatmap sources have been appropriately created, mapmaker can now generate the flatmap. Mapmaker has various arguments that can be used to generate maps. These arguments, some optional, can allow for different visualizations of the flatmaps, and for debugging purposes.
Mapmaker involves various required and optional arguments (refer to the documentation for more information). Table 2 contains the required arguments to generate a map.
| --source PATH TO SOURCE MANIFEST | Points mapmaker to the source of flatmap (i.e. the manifest.json) |
| --output PATH TO DIRECTORY | Points mapmaker to the directory of the base of the generated flatmap |
Table 2: The required arguments when running mapmaker. ‘--source’ refers to the path to the directory of the source files’ manifest.json. ‘--output’ should point to the directory to dump the knowledgebase.db file.
- Enter the flatmap-maker directory and spawn a poetry shell.
- The flatmaps utilise the SciCrunch knowledgebase, to use this service a valid SciCrunch API Key must be set. A SciCrunch key can be obtained from the SciCrunch website, following these instructions.
$ export SCICRUNCH_API_KEY=*Enter a valid SciCrunch Key*- Run mapmaker using the following command (with the appropriate and any desired arguments).
$ python runmaker.py --source _Enter path to flatmap source_ --output _Enter path to output directory_Given mapmaker runs with no crashes or issues, the flatmap has now been successfully generated. The flatmap can be viewed by setting up the server and viewer.
- To set up the flatmap’s server, open a new terminal and navigate to the flatmap-server directory. The server depends on the knowledgebase.db output by mapmaker. Therefore, the directory that has been set up (via the --output argument in mapmaker) must be referenced.
In the flatmap-server directory, point to the knowledgebase.db file created by mapmaker.
$ export FLATMAP_ROOT=$HOME/\_Enter path to directory_ Start the server.
$ poetry run mapserver- With the flatmap server running, the flatmap can be viewed by starting the viewer.
Open another terminal and navigate to the flatmap-viewer directory. The viewer can be started with
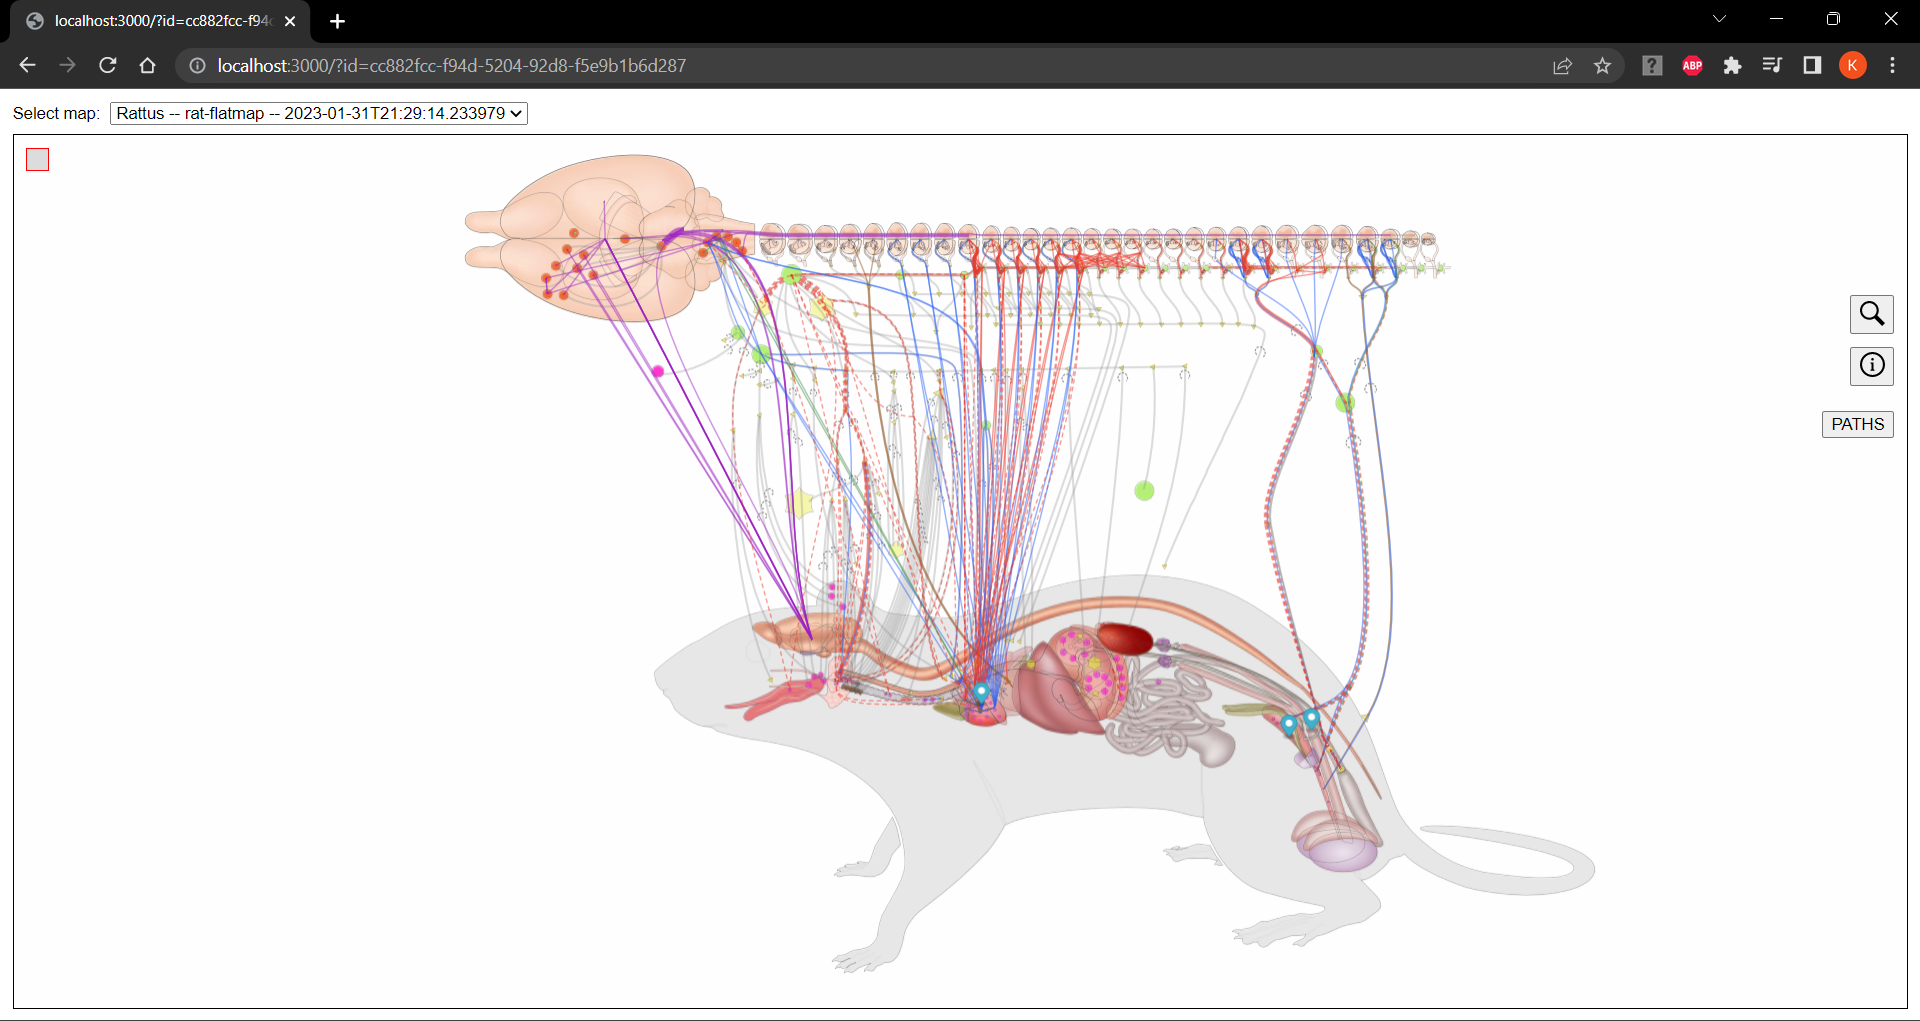
$ npm startThe flatmap can now be viewed on the local server output by the flatmap viewer. This is typically localhost:3000.
Congratulations you made a map!
Windows (Ubuntu - WSL)
Installation
Developer mapmaker can be installed on machines operating WindowsOS via the activation of the Windows Subsystem for Linux (WSL). To set up WSL, open a Windows command prompt as administrator and run the following command:
$ wsl --install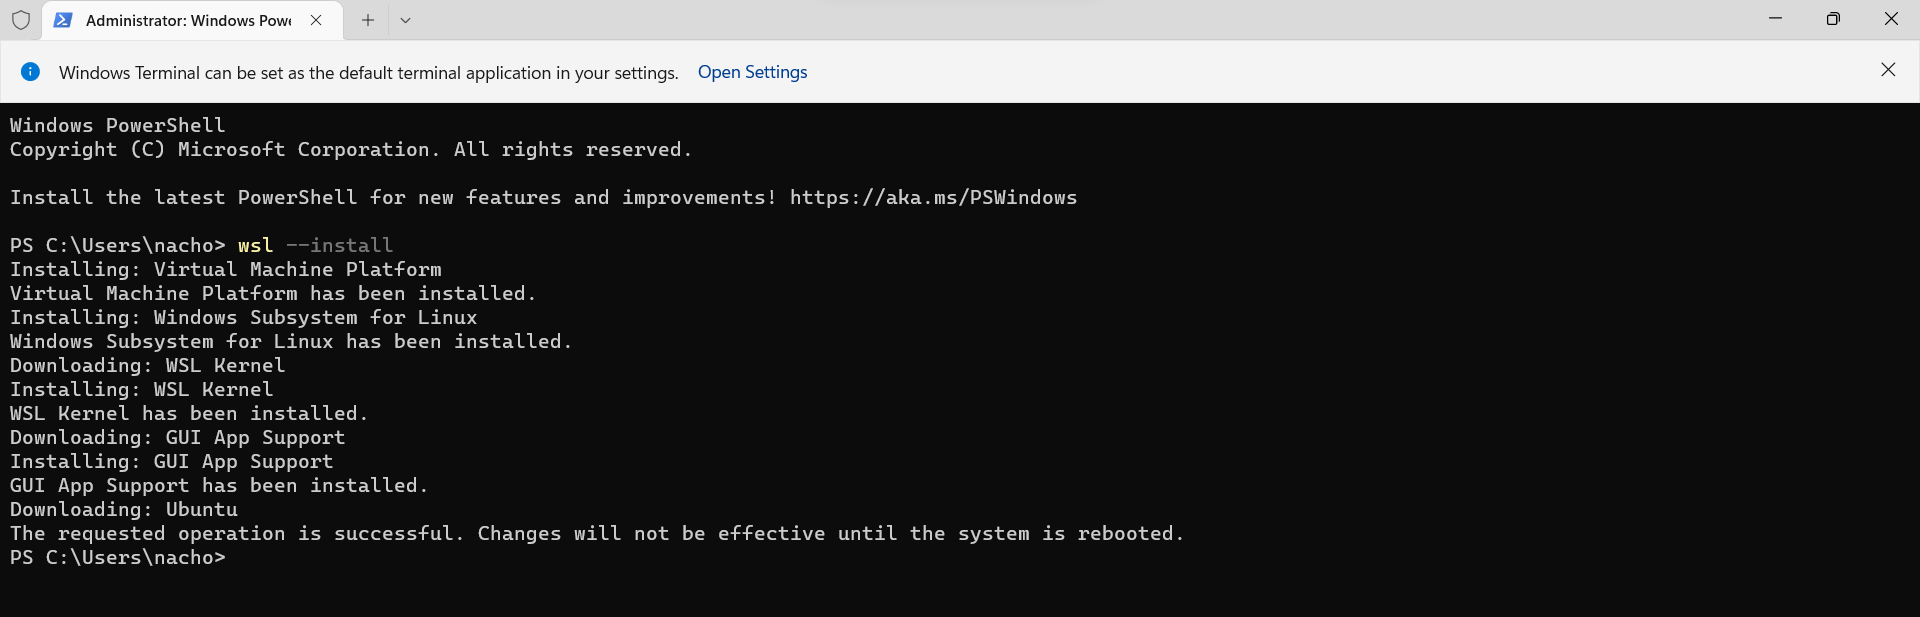
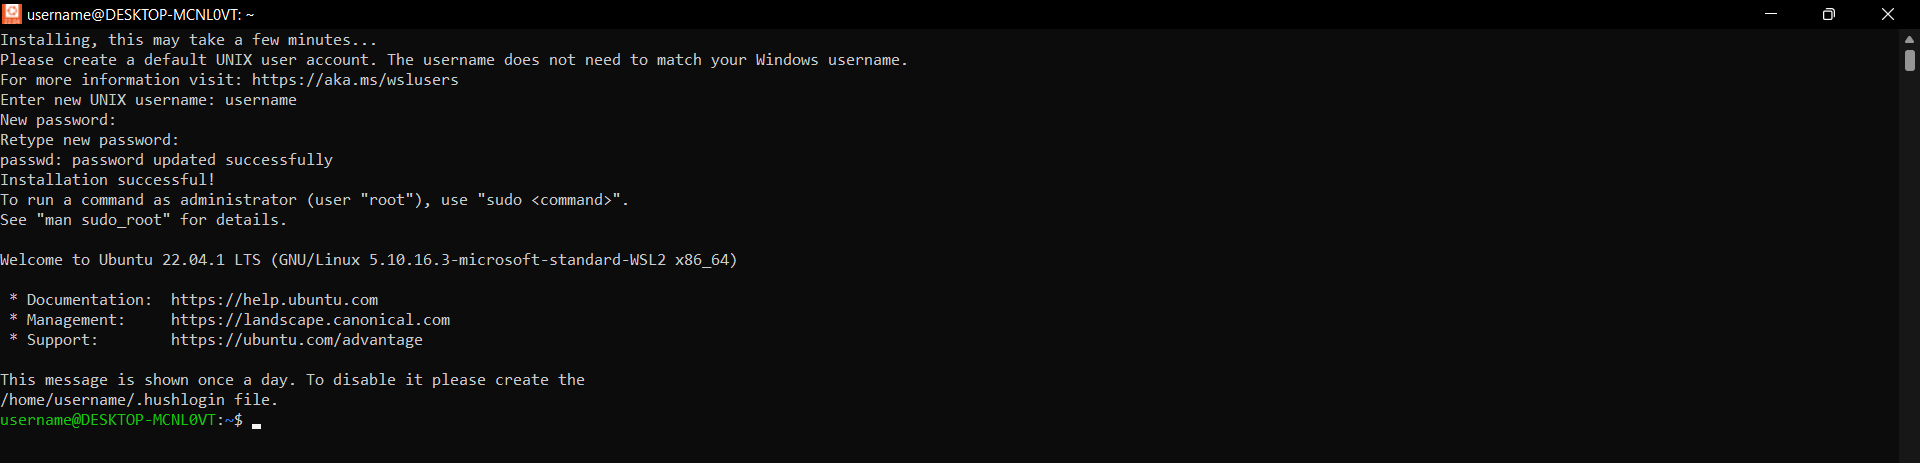
Once installed, reboot and install Ubuntu 22.04 via the Microsoft Store. Open Ubuntu 22.04 and enter a desired username and password (Note that the password will be needed upon sudo installations). Upon reboot, an Ubuntu terminal may open to complete the installation. Ubuntu 22.04 must be the environment mapmaker is run in, as Python 3.10 is required. The installation should now complete successfully, and a chevron prompt will appear.
Note that the flatmap resources require Python 3.10. The version of python in use can be found via
$ python3 -VThe flatmap resources can now be installed. Below are the commands and supplemental information for the respective instructions found in the Installing mapmaker resources section.
Note:Ubuntu may need to be updated via
$ sudo apt-get update && sudo apt-get upgrade
$ sudo apt install make
$ sudo apt install g++
$ sudo apt install sqlite libsqlite3-dev
$ sudo apt install libz-dev
$ sudo apt install coinor-cbc$ git clone <https://github.com/mapbox/tippecanoe.git>
$ cd tippecanoe
$ make -j
$ sudo make install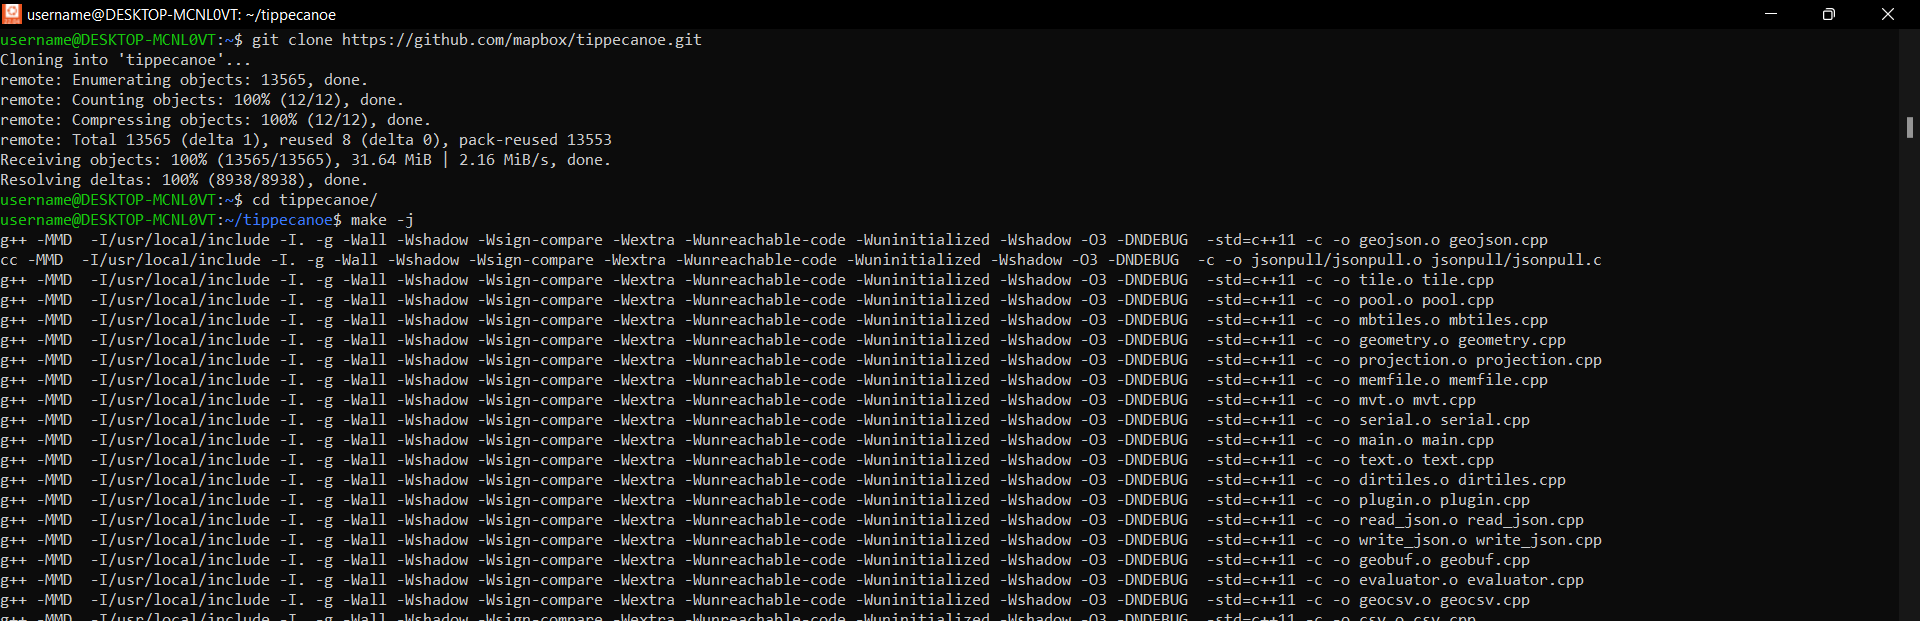

Note:The repositories must be cloned in the root directory.
$ git clone https://github.com/AnatomicMaps/flatmap-maker
$ git clone https://github.com/AnatomicMaps/flatmap-server
$ git clone https://github.com/AnatomicMaps/flatmap-viewer$ curl -sSL https://install.python-poetry.org | python3 -
$ PATH=$PATH:$HOME/.local/bin$ cd flatmap-maker
$ poetry install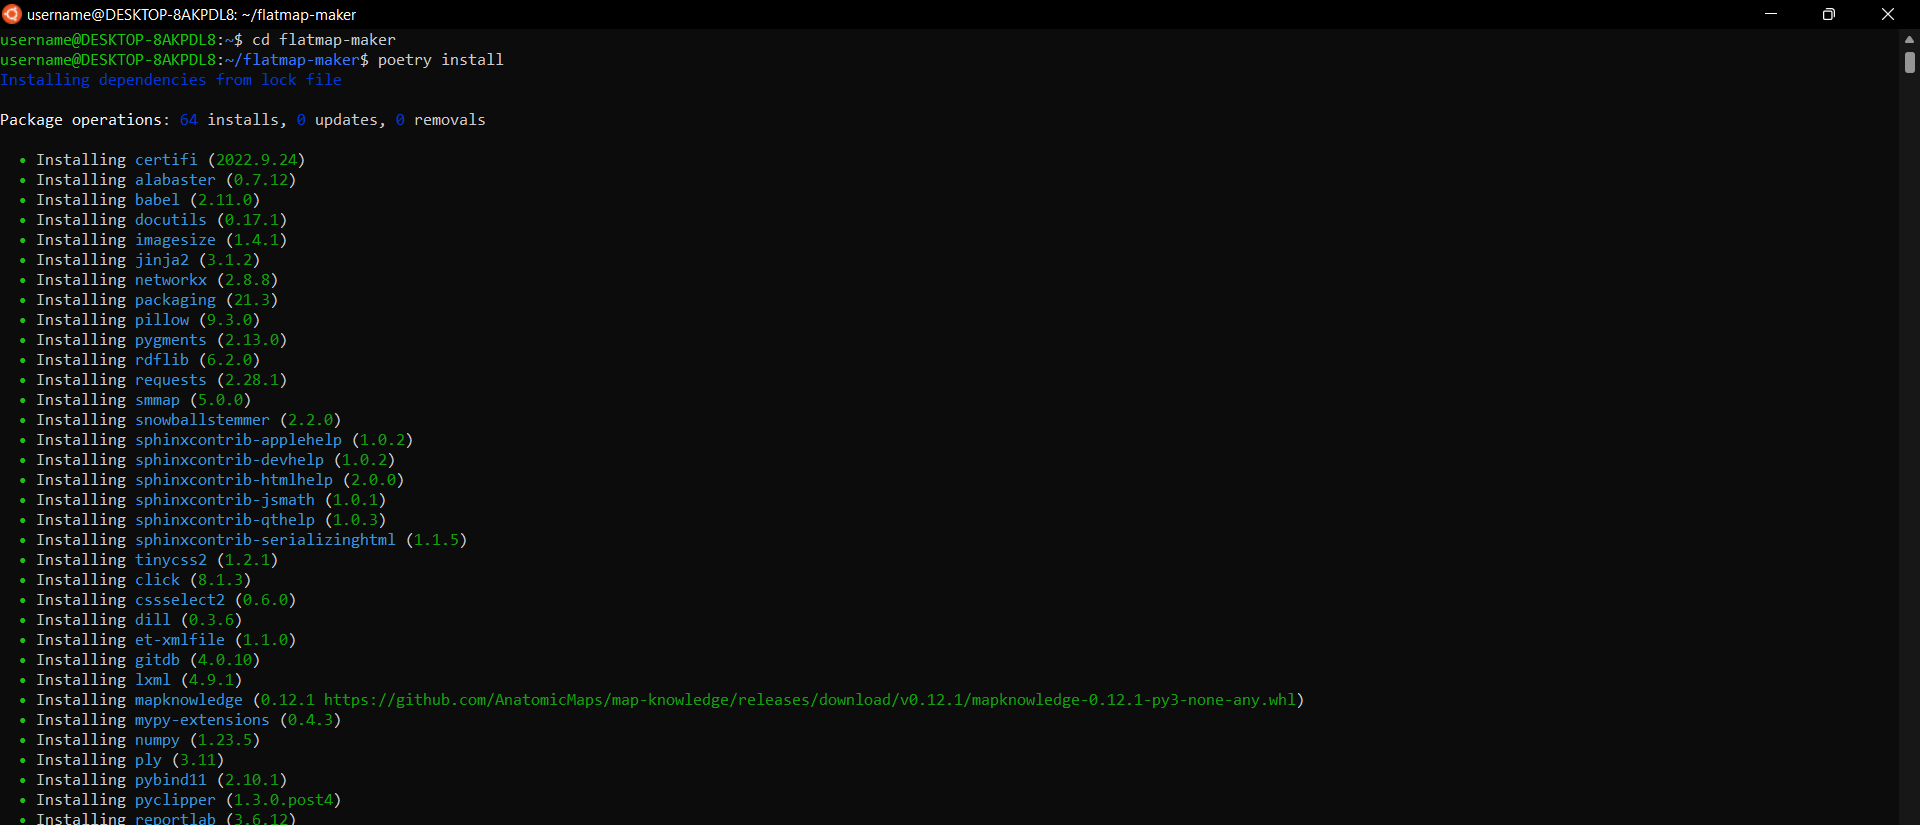
$ cd ../flatmap-server
$ sudo apt-get install libgl1-mesa-glx
$ poetry install
$ poetry run mapserver
$ cd ../flatmap-viewer
$ npm install
The output of npm install may mention several vulnerabilities. Following the recommended instructions, these can be resolved via:
$ npm audit fix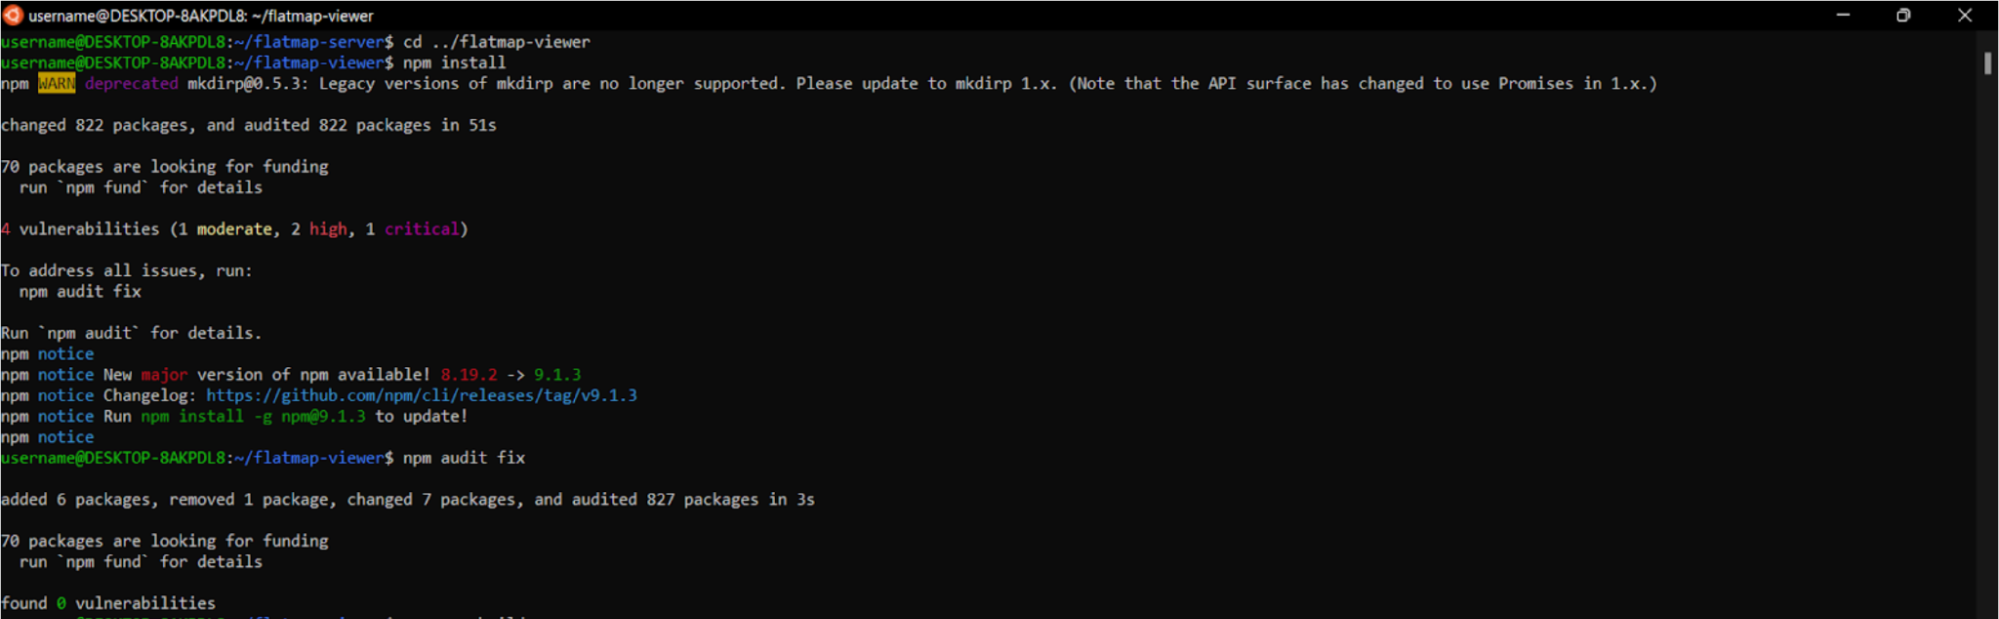
The viewer can be started with
$ npm start
Note:npm start may fail to start the viewer. This may be due to the updated version of Nodejs. This can be resolved by utilizing the Node Version Manager (nvm). Following the GitHub installation instructions, install nvm and run the command to install v12.22.9 of Nodejs. The terminal may need to be restarted.
$ nvm install 12.22.9This version of node can be run via
$ nvm run node --12.22.9
Using Mapmaker - Windows
$ cd flatmap-maker
$ poetry shell$ export SCICRUNCH_API_KEY= *Enter a valid SciCrunch Key*$ python runmaker.py --source ../flatmap-sources/rat-flatmap/manifest.json --output ../flatmap-knowledgebase --verbose --background-tiles --authoring --debug
In a separate terminal,
$ cd flatmap-server
$ export FLATMAP_ROOT=$HOME/../flatmap-knowledgebase
$ poetry run mapserver
In another separate terminal,
$ cd flatmap-viewer
$ npm start
The generated flatmap can now be viewed on the local host server, on port 3000.
MacOS
Installation
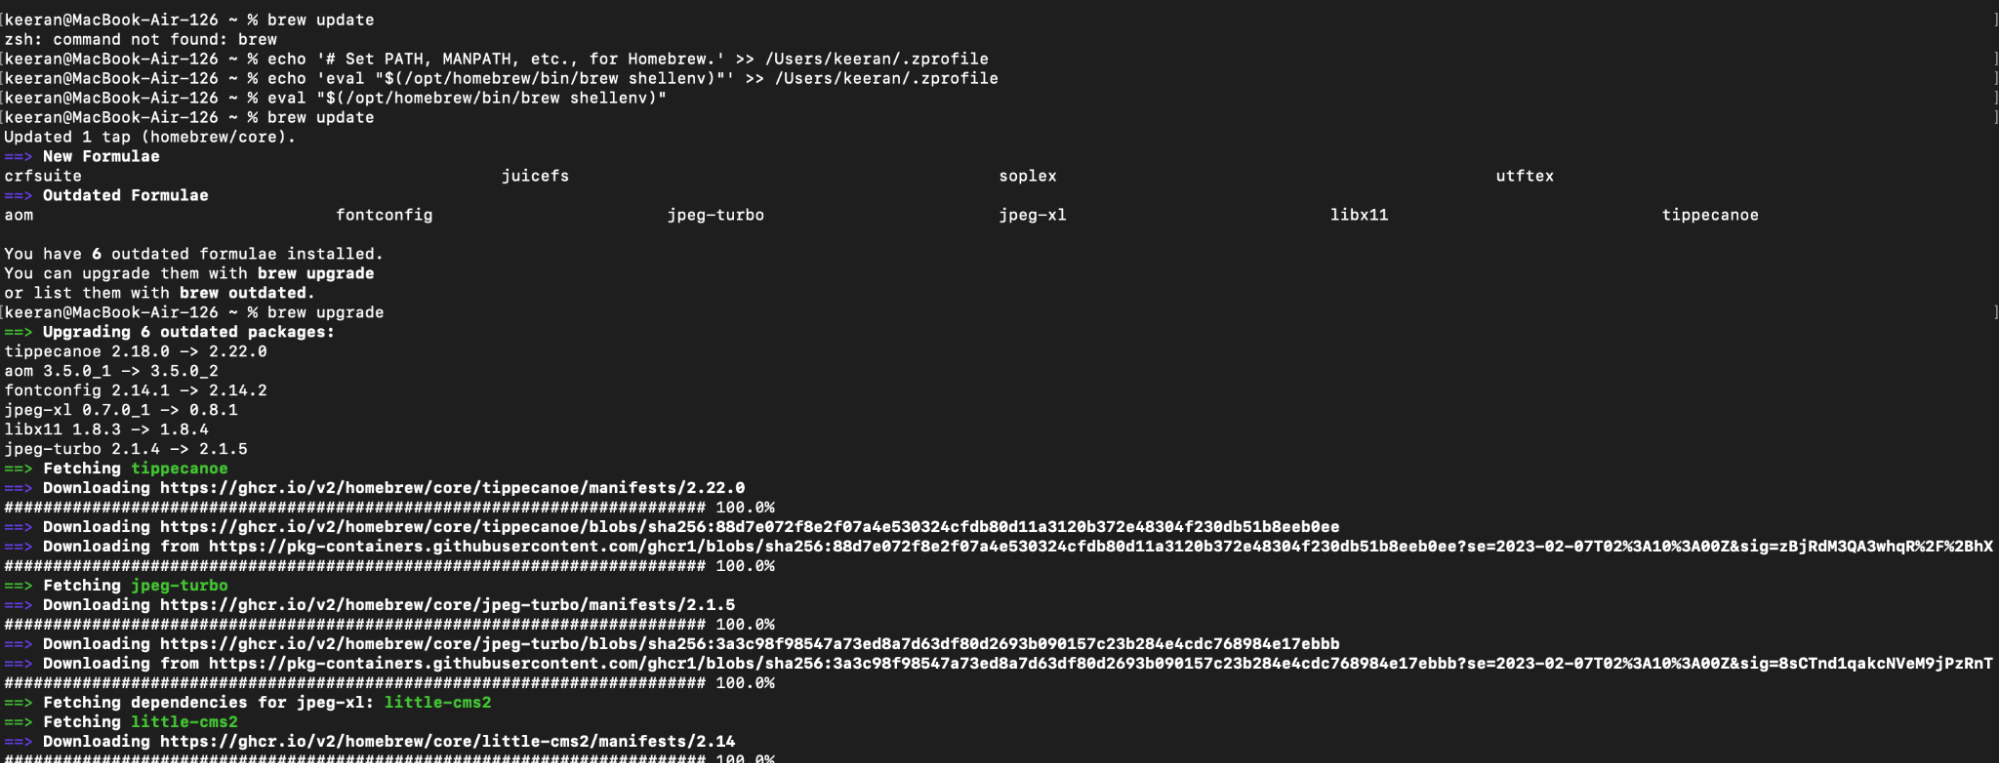
To install developer mapmaker on MacOS, following the instructions of the official installer, install and update Homebrew.
% /bin/bash -c "$(curl -fsSL https://raw.githubusercontent.com/Homebrew/install/HEAD/install.sh)"
% brew update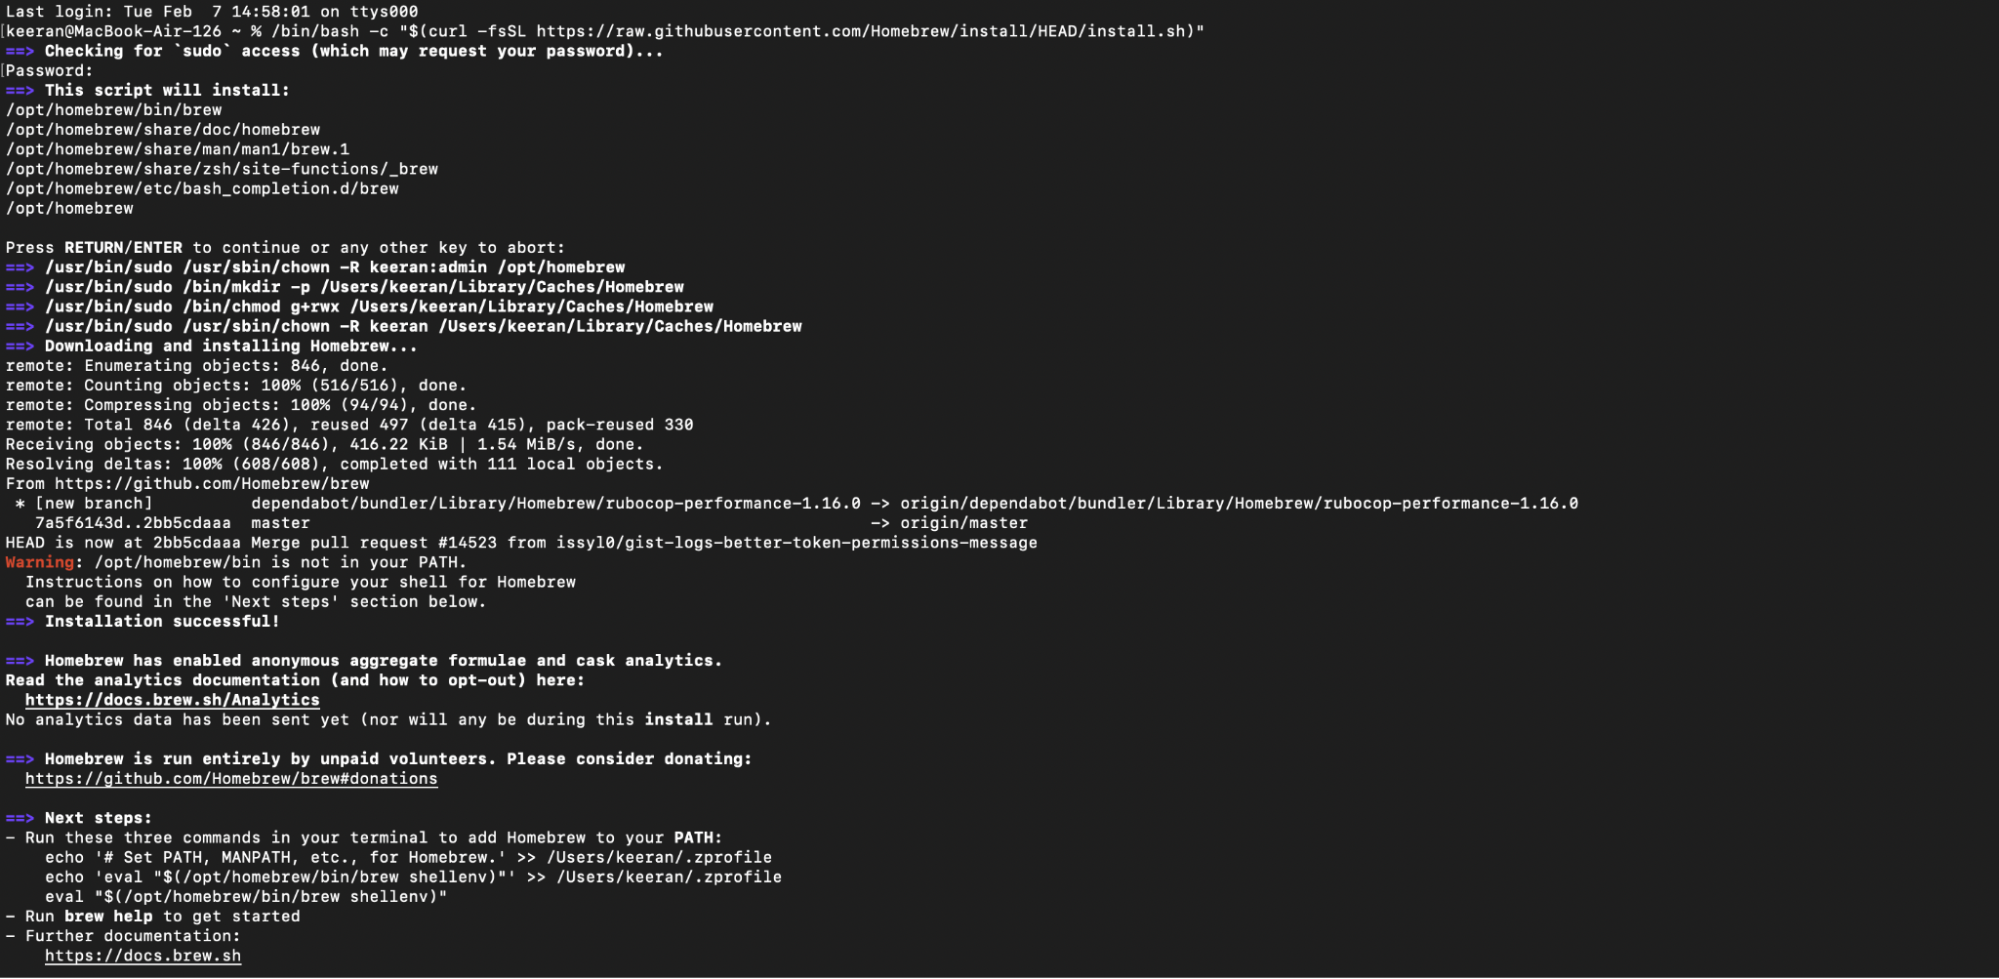
Note:The Homebrew will need to be added to PATH, as recommended by the official installer. This can be done by running the commands provided in the output, as shown in Figure 16.
Install Python3.10, if not already installed.
% brew install [email protected]% brew install tippecanoe% curl -sSL <https://install.python-poetry.org> | python3 -The poetry path needs to be added to the shell configuration. If using bash command:
% echo "export PATH=$PATH:$HOME/.local/bin" >> ~/.bashrcIf using zsh command:
% echo "export PATH=$PATH:$HOME/.local/bin" >> ~/.zshrc% git clone https://github.com/AnatomicMaps/flatmap-maker
% git clone https://github.com/AnatomicMaps/flatmap-serve
% git clone https://github.com/AnatomicMaps/flatmap-viewer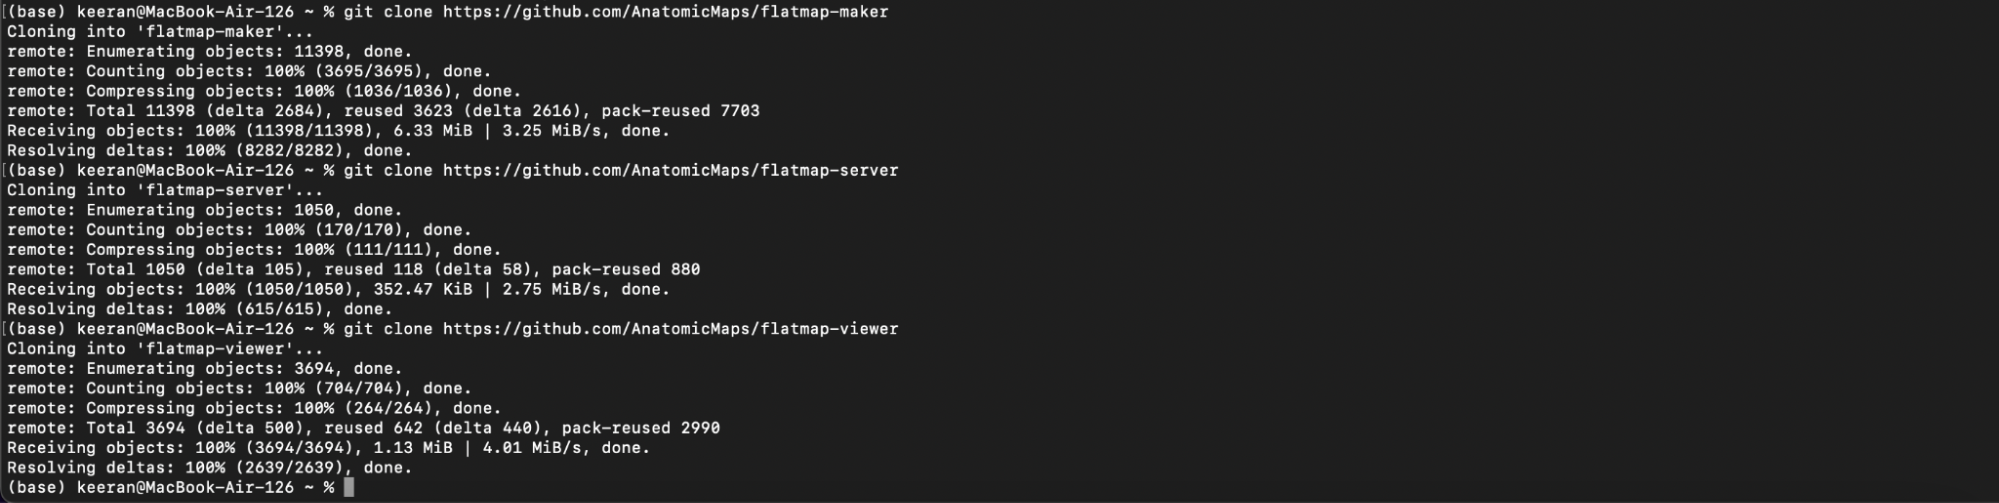
Switch to the latest release of mapmaker. Note that the command below refers to the latest release in October 2022.
% cd flatmap-maker
% git checkout v1.5.1
The next step is dependent on the processing chip of the MacOS machine. Note that this then affects how mapmaker is run (See the Using Mapmaker - MacOS section). In the root directory:
For Intel based machines, install coin-or cbc.
% brew tap coin-or-tools/coinor
% brew install coin-or-tools/coinor/cbc
For ARM based machines, documentation can be found in mapmaker. To install conda, follow the official instructions.
% curl -L -O  "https://github.com/conda-forge/miniforge/releases/latest/download/Miniforge3-MacOSX-arm64.sh"
% sh Miniforge3-MacOSX-arm64.sh
Confirm yes when prompted. In a new shell:
% cd flatmap-maker
% conda env create -f conda/M1Mac.yaml
Install Poetry in the flatmap-maker directory.
% poetry install% cd ../flatmap-server
% poetry installThe mapserver can be started by running
% poetry run mapserverAnd shut down by
% Command + .
% cd ../flatmap-viewer
% npm install
% npm audit fix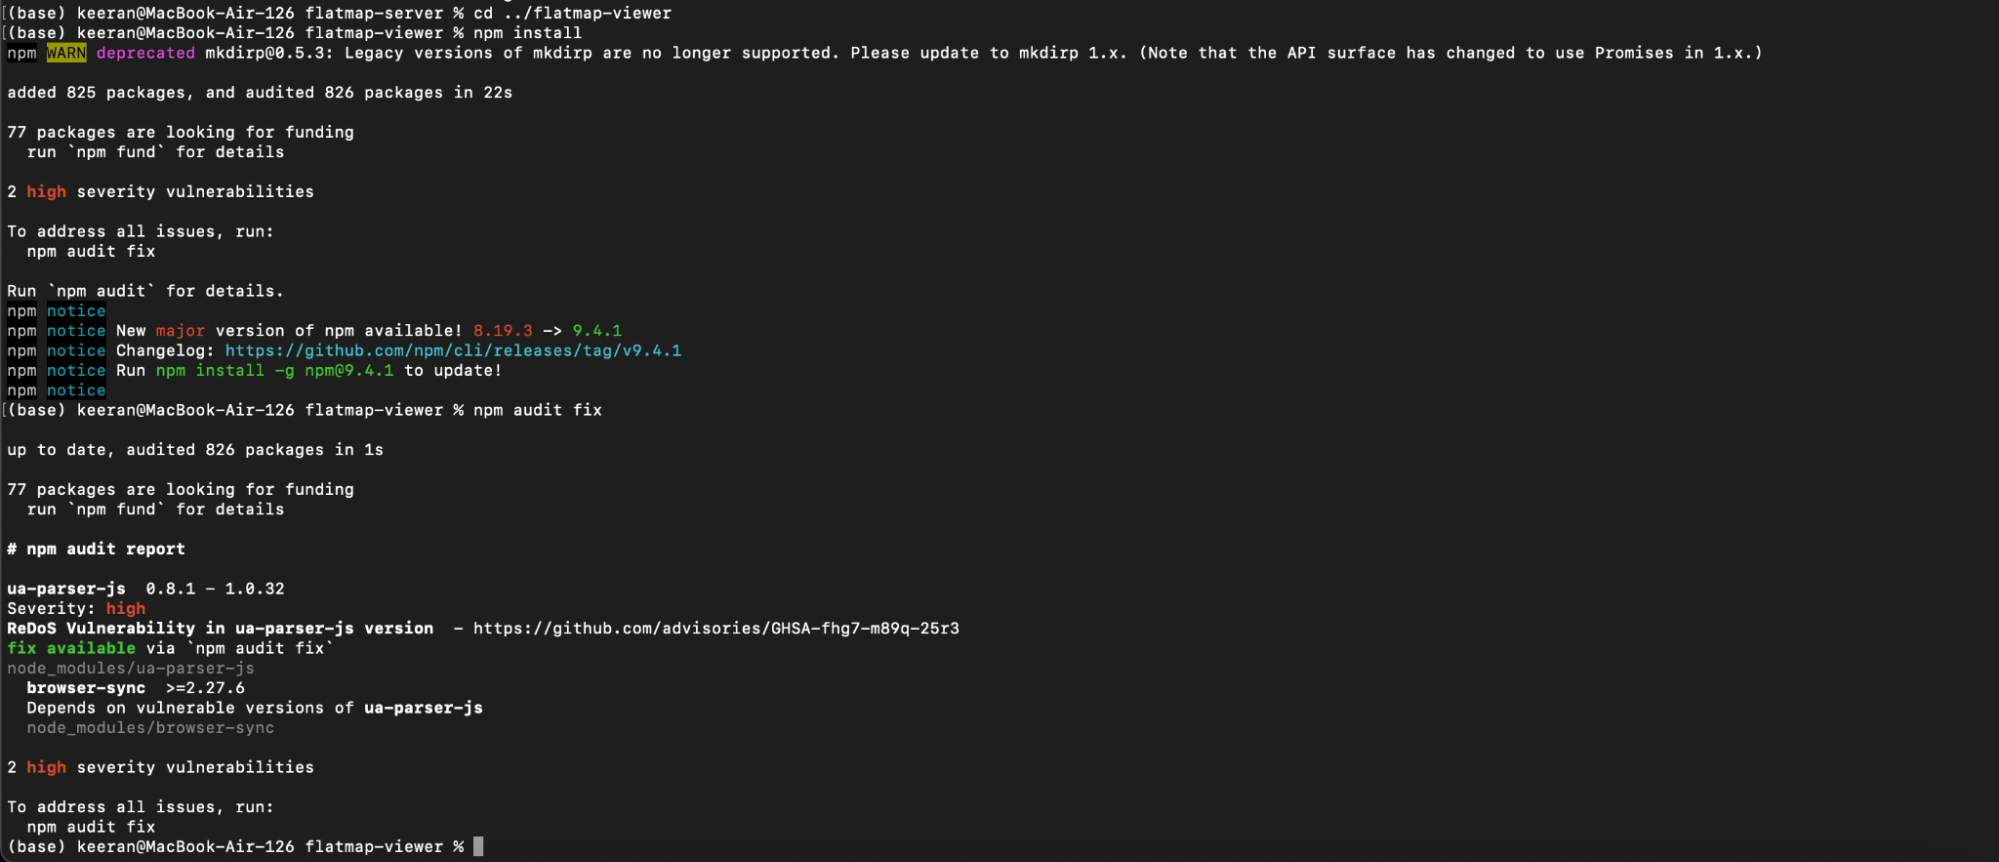
Note:npm start may fail to start the viewer. This may be due to the updated version of Nodejs. This can be resolved by utilizing the Node Version Manager (nvm). Following the GitHub installation instructions, install nvm and run the command to install v12.22.9 of Nodejs. The terminal may need to be restarted.
% nvm install 12.22.9This version of node can be run via
% nvm run node --12.22.9
The flatmap viewer can then be started with
% npm startAnd shut down with
% Command + .Using Mapmaker - MacOS
As aforementioned, how mapmaker is run is dependent on the processing chip of the MacOS machine.
Activate the virtual environment.
For intel based machines:
% cd flatmap-maker
% poetry shell
% export SCICRUNCH_API_KEY= *Enter a valid SCICRUNCH Key*
For ARM based machines, with Conda:
% cd flatmap-maker
% conda activate mapmaker
% export SCICRUNCH_API_KEY= *Enter a valid SCICRUNCH Key*
Mapmaker can now be run. Note that the command below is specific to this example case. The paths for the source and output directories are dependent on the set up of the flatmap resources.
% python runmaker.py --source ../rat-flatmap/manifest.json --output ../flatmaps --verbose --background-tiles --authoring --debug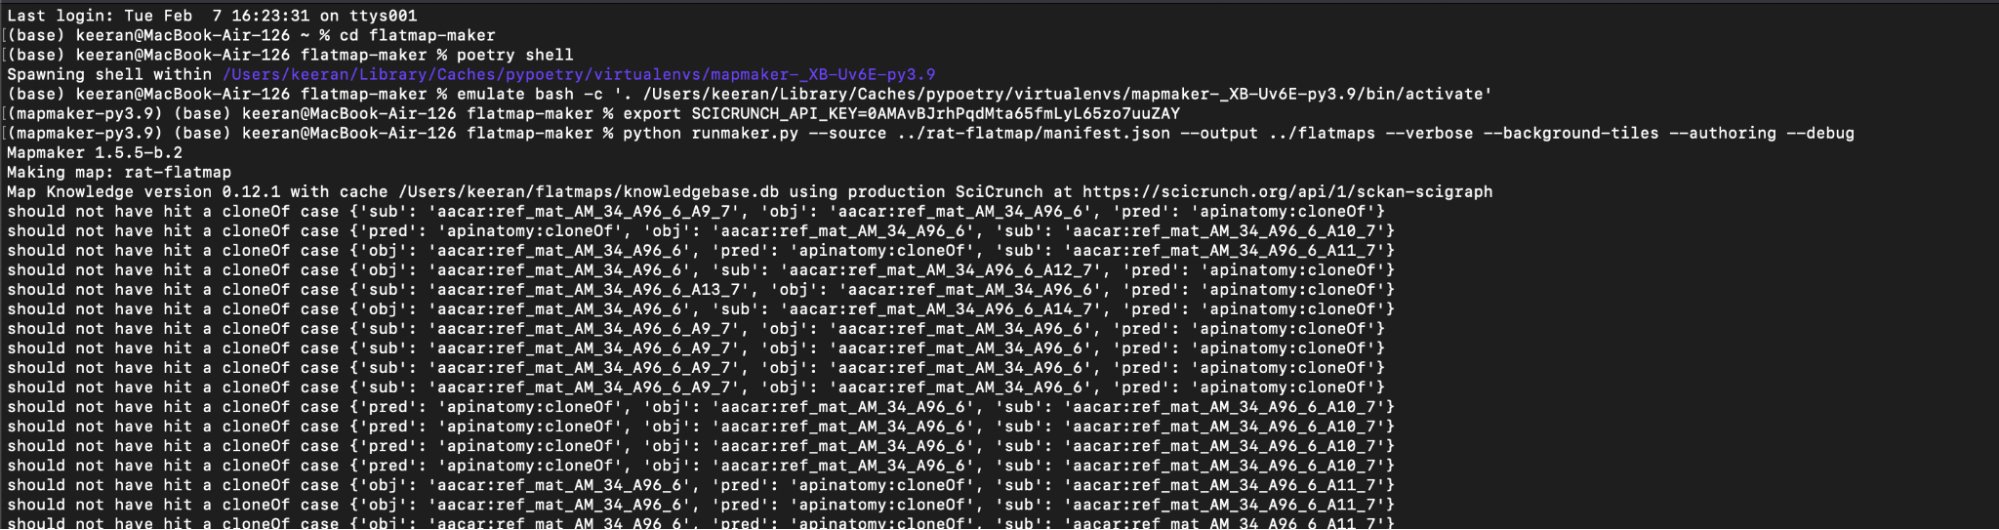
In a separate terminal,
% cd flatmap-server
% export FLATMAP_ROOT=$HOME/flatmaps
% poetry run mapserver
In another separate terminal,
% cd flatmap-viewer
% npm start
The generated flatmap can now be viewed on the local host server, on port 3000.
Updated about 19 hours ago